Repairing the Cat Carrier

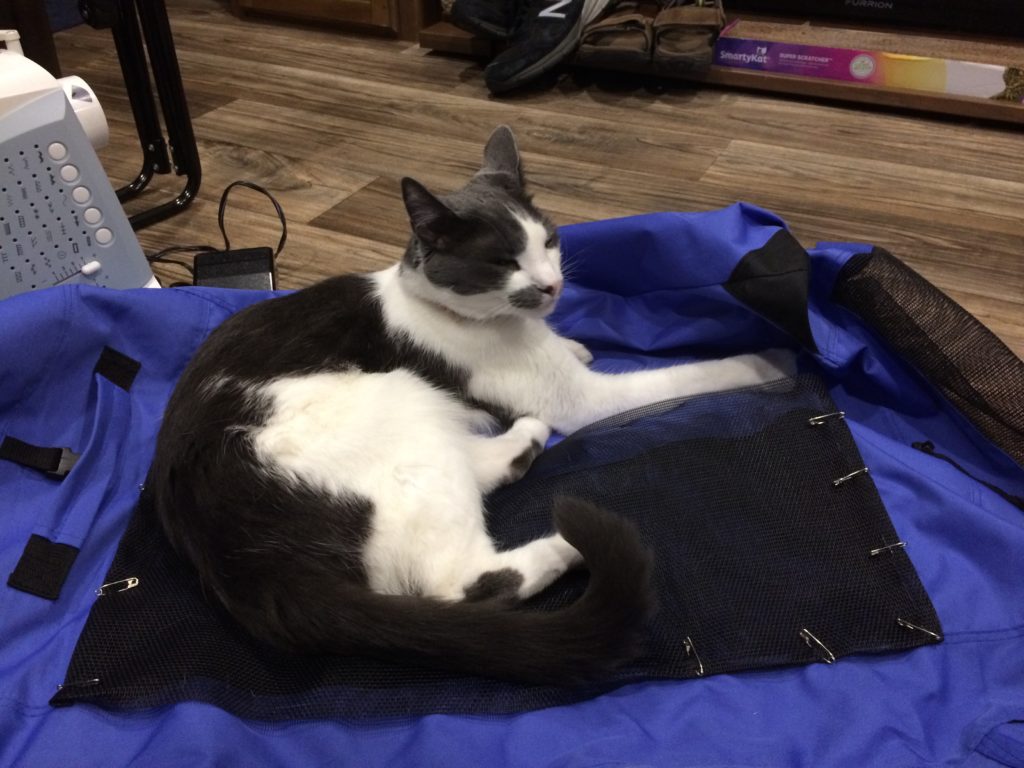
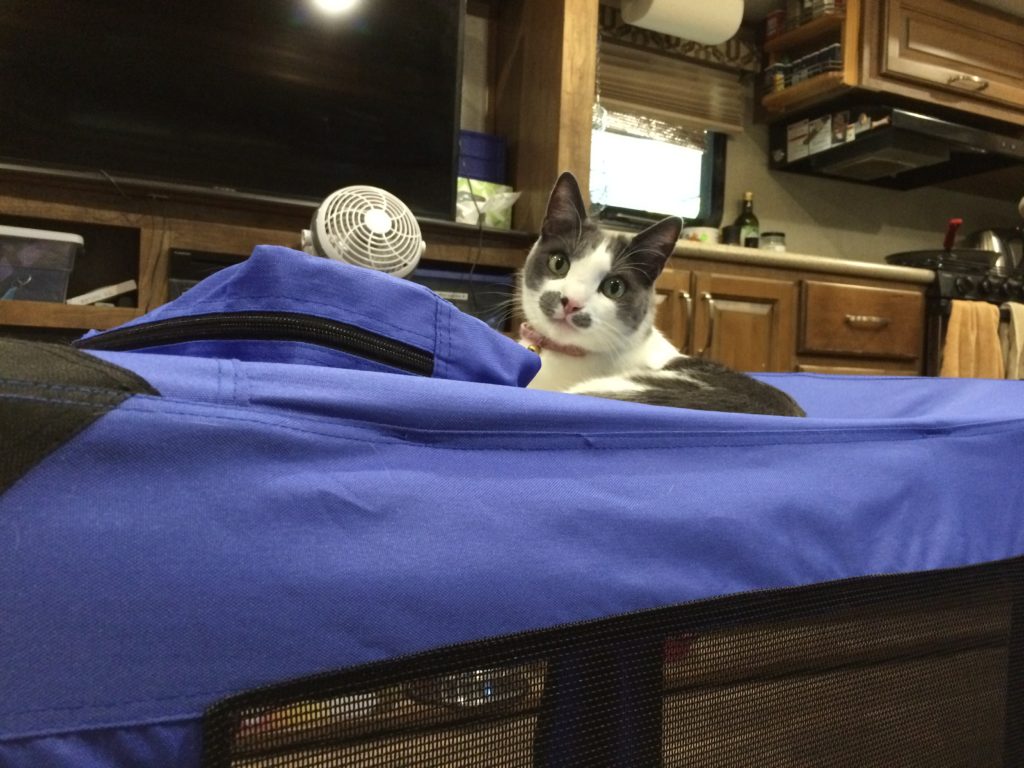
Two of our cats are brothers we rescued at 5 weeks old. They’re now 5 years old, and still a handful. They hate being in hard-sided carriers with a passion. But on our last pre-RV relocation with a car full of stuff and 5 cats, they destroyed their soft-sided carrier before we even left our neighborhood. We ended up stopping at a pet store on our way out of town to buy two hard-sided carriers to contain them for the 600-mile trip.

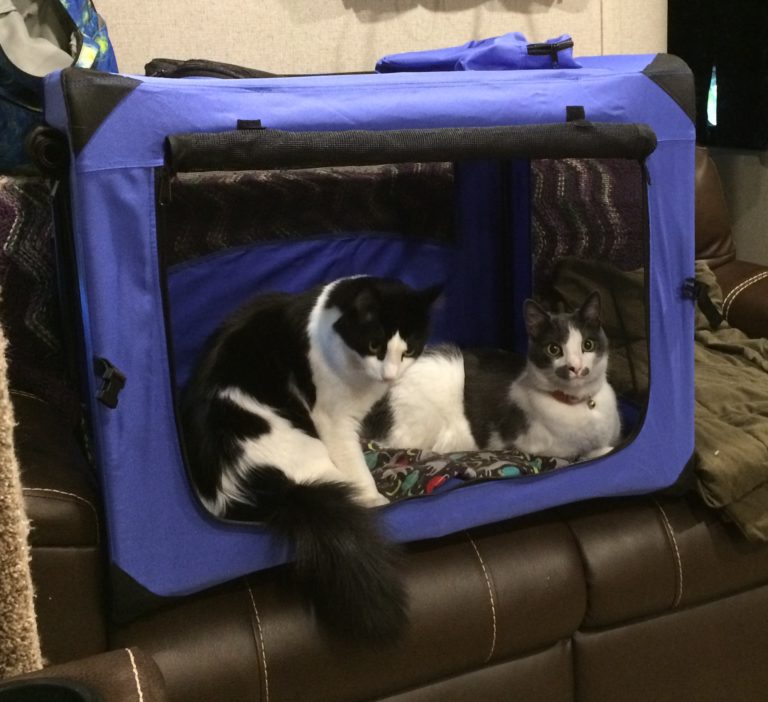
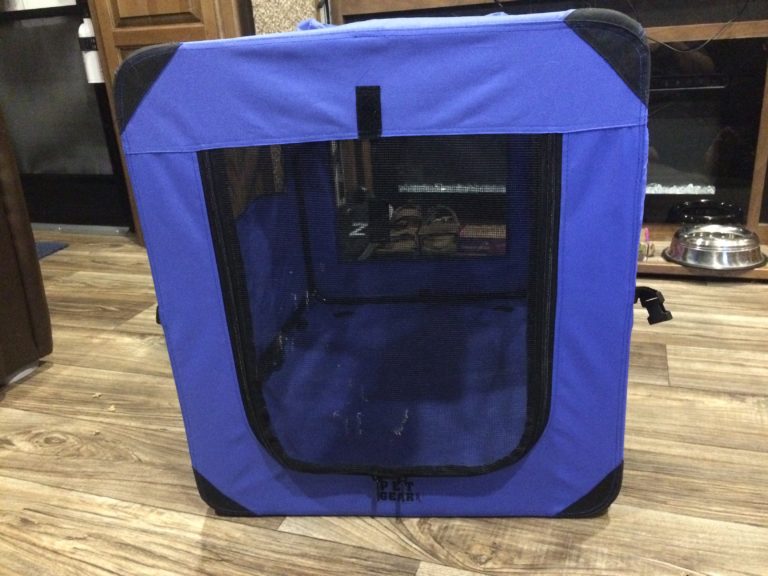
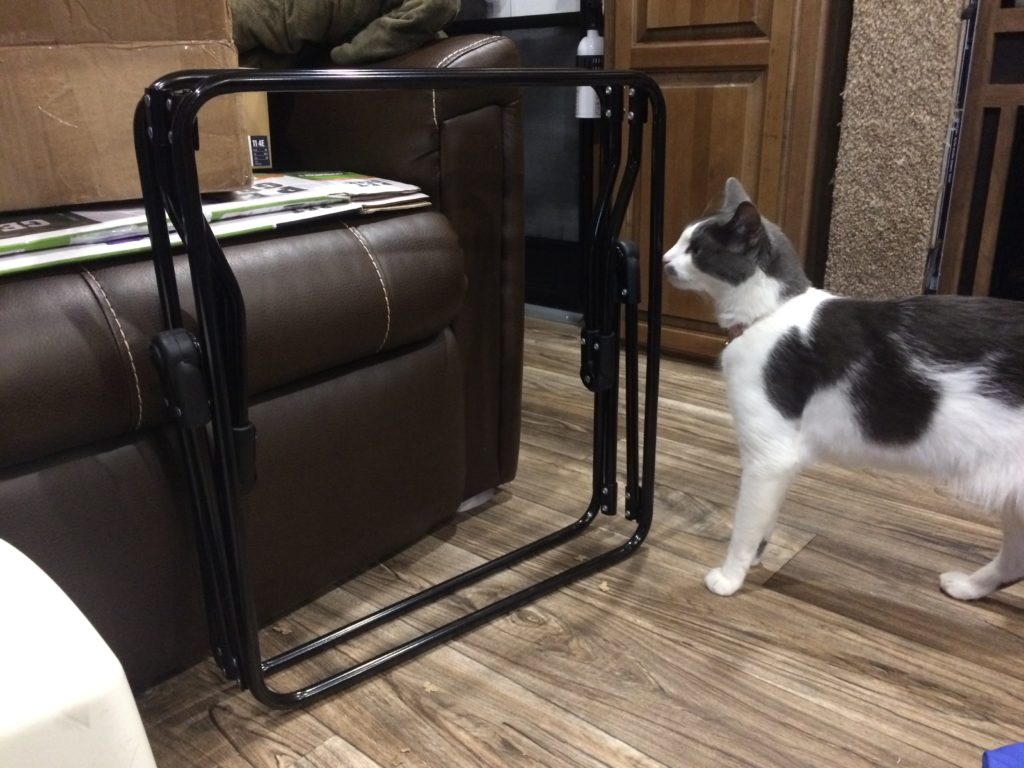
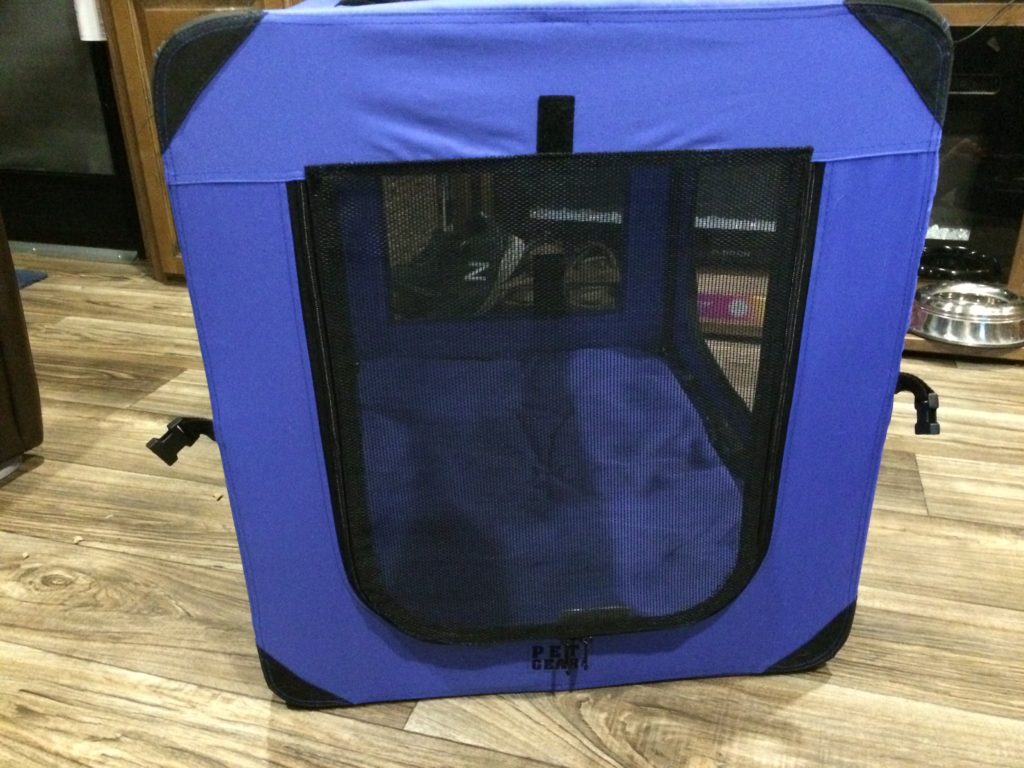
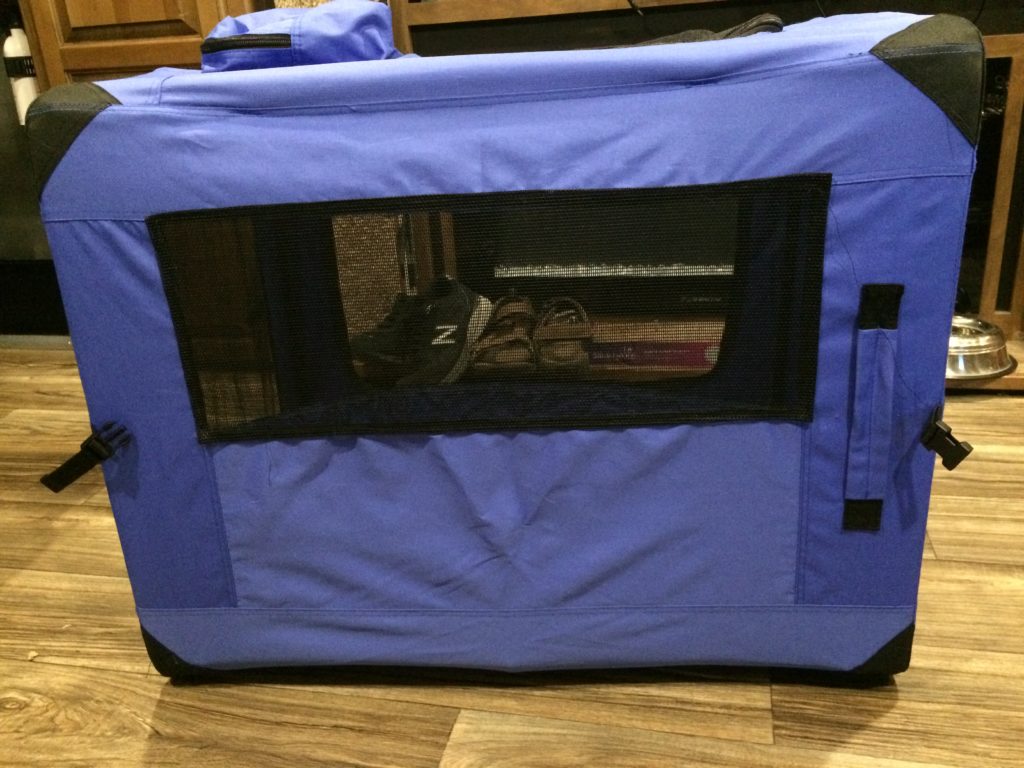
But we’re trying to make RV life easier on them, and we’re confident we can get them comfortable in the truck if we’re patient and creative. So a couple weeks ago, we bought a Pet Gear Soft Crate for the boys and another for our two girls (who are perfect angels on the road), and set it up for the boys to get used to having it around.

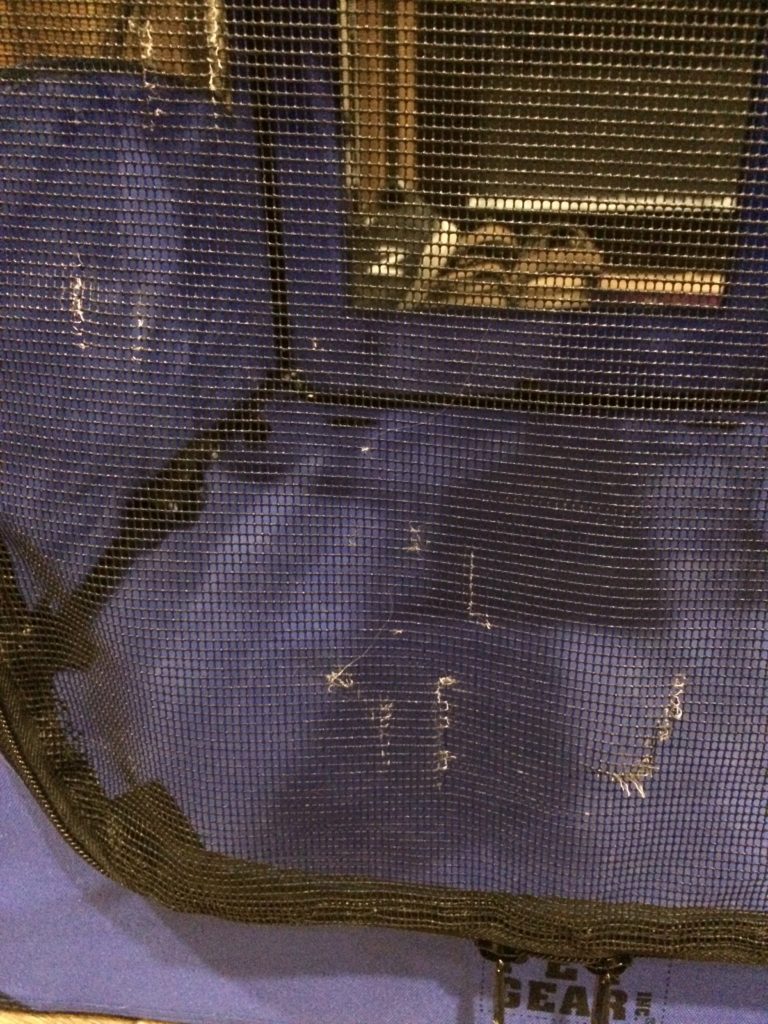
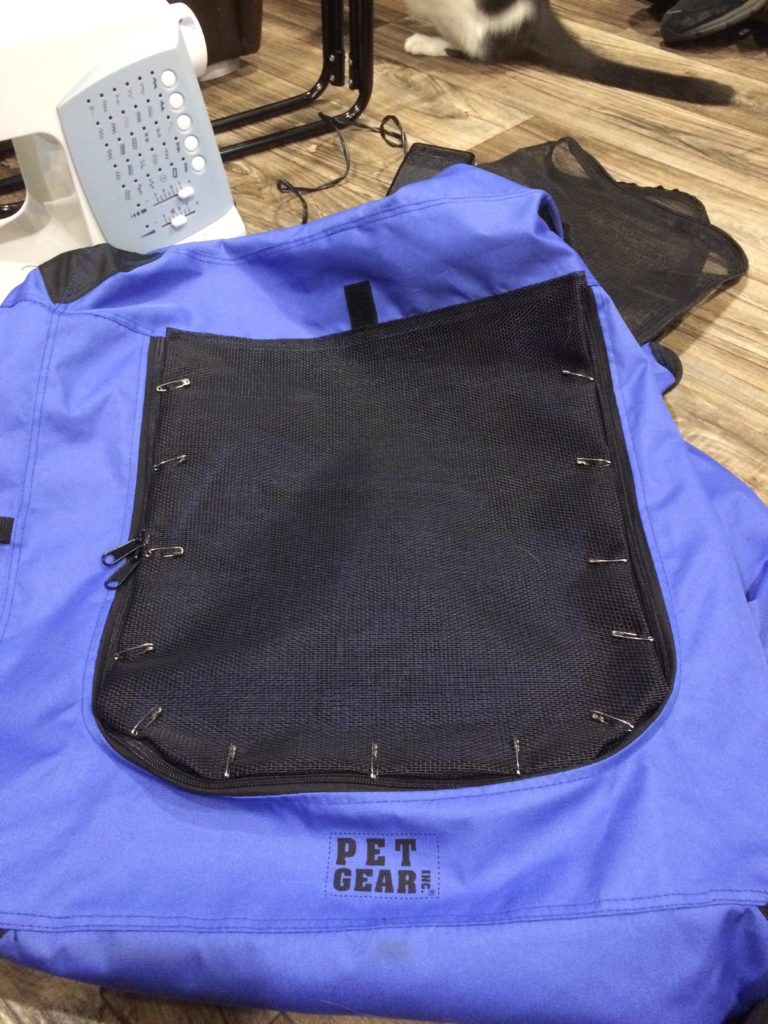
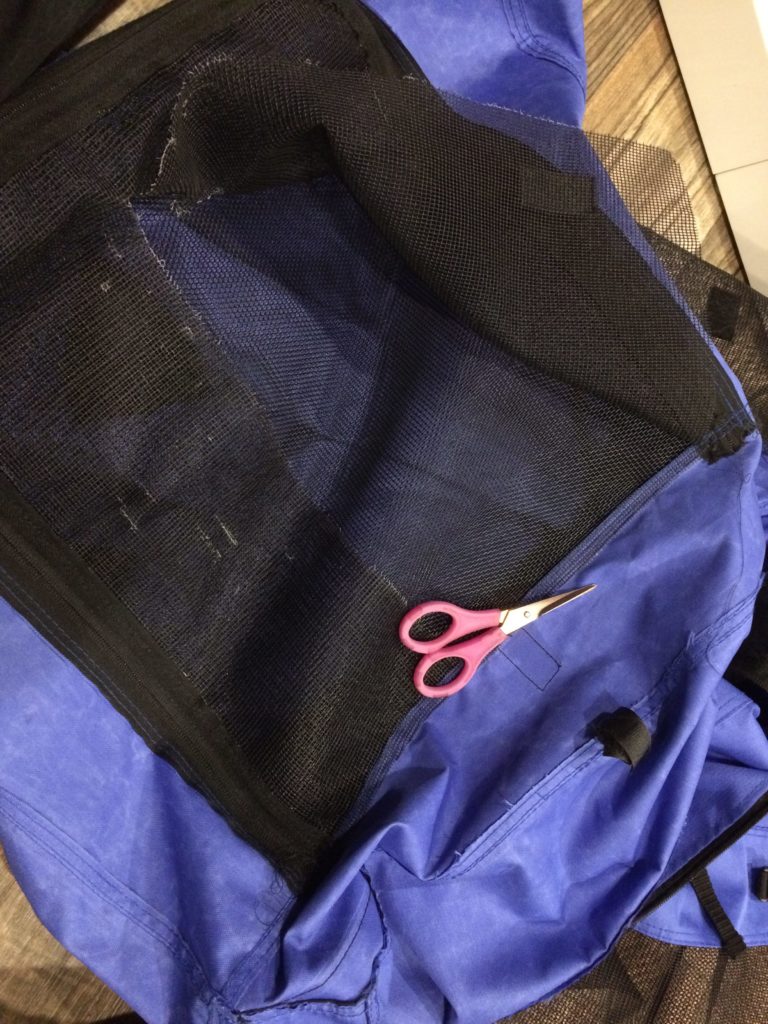
Last weekend we changed parking spots in the same park. (To be closer to the pool!) It was a good test-run for the new crates– and the boys did less damage than we expected, but they still put holes in the screen. We really want to make these soft carriers work because they’re more comfortable for the cats, so I wanted to repair the damage.

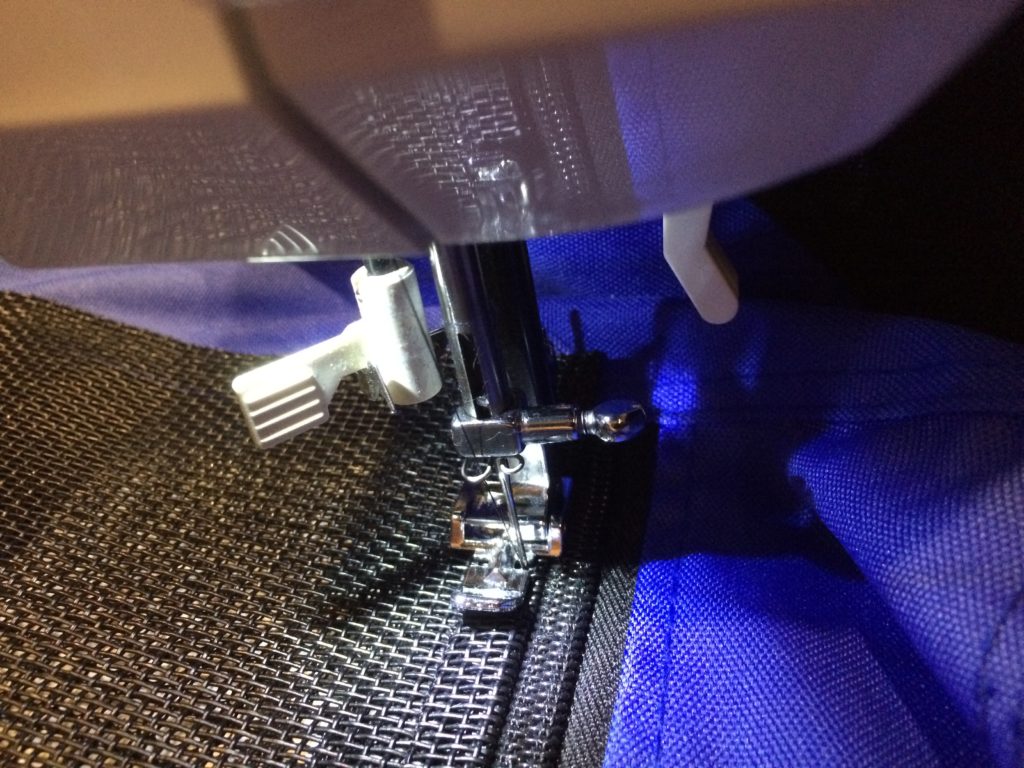
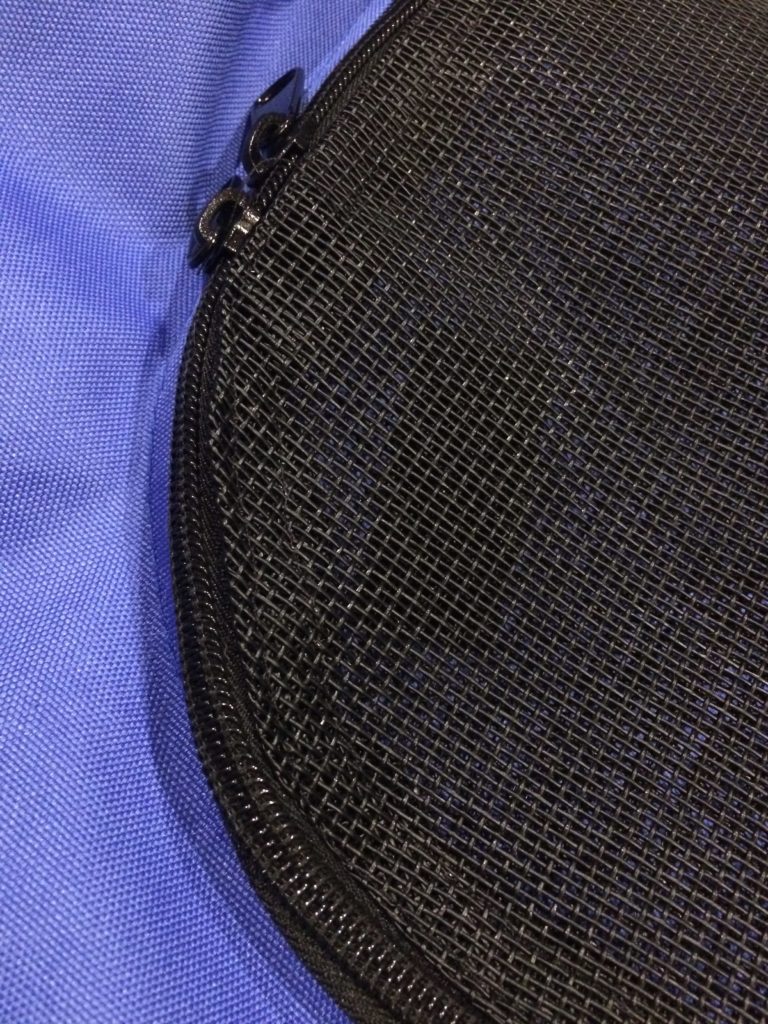
We are HUGE fans of Pet Screen, because it renders screens just about indestructible when it comes to cats and dogs. We replaced all the screens in our RV with Pet Screen before we ever moved the cats in– not only does it keep them safe, but it’s so easy to get tiny tears in standard screens even without pets, that this stuff keeps the bugs out and keeps the screens looking nicer longer.

Since I had some left over from the RV screen install, I thought I’d try to replace the two torn parts of our new cat carrier. I was pleasantly surprised at how easy this stuff is to work with, and how well my sewing machine handled it.

two cats hanging out in an open pet carrier.
Tycho and Kepler before they realized the crate could go outside and ride in trucks.
The side of a large soft pet crate with tears in the screen door.
Exhibit A. The damage done in less than an hour. Honestly, it could’ve been a lot worse.
Closeup of torn pet screen.
Exhibit B. The damage up close. And a reminder that we should’ve trimmed their nails before moving day.
The folded metal frame that came from inside the carrier.
The folding crate is basically a canvas shell around a folding metal frame, and removing the fabric from the frame was easy.
Replacement screen safety pinned on top of the existing torn screen.
Using a 1/2″ seam and a box of safety pins, I pinned pet screen directly on top of existing screen, using the zipper seam as a guide.
A cat laying on the pinned screen, mid-repair.
It’s important to get assistance with big jobs.
A closeup of a sewing machine needle sewing the new screen in place.
Sewing along the existing seam, right on top of the old screen. I needed to use a zipper foot to get around the zipper.
Closeup of the finished repair with new screen attached to the existing zipper.
The pet screen worked really well, including around the curves of the zipper.
The reverse side of the crate shell, with the torn screen being cut away to reveal the new screen on the other side.
With small, sharp scissors, I cut away the old screen along the seam.
The finished replaced screen on a zippered side of the pet crate.
I used the same Velcro from the old screen door on the new screen, so the door can be rolled up and left open as a cat hangout in the RV when we’re not traveling.
A rectangular screen on the long side of the crate.
I also replaced this screen window that had no zipper, so it was an easier job.
a cat lounging on the top of the repaired crate. The cat is gray and white, with a little mustache.
Kepler approves of these repairs, but makes no promises not to destroy the rest of the carrier on the next trip.

Leave a Comment