This summer we are going to be spending an unfortunate amount of time in the famous Phoenix, Arizona heat. In order to make things as tolerable as possible, we learned from the examples set by our neighbors.
Last year, before we moved into our RV but when were spending many hot summer days customizing it, we cut pieces of Reflectix foil covered bubble wrap to fit the windows. The added insulation and reflective material made a big difference during the hottest parts of the day, and our electric bill went down about 30%.
This year, we wanted to improve on that. Our space is oriented so the bulk of the day’s sun is directed at our two main slides: our bedroom and our main living space (couch and kitchen table/work desk). Slide walls are thinner than the rest of an RV’s walls, so they have less insulation. When the sun beats down, the heat transfers inside quickly, sometimes making the windows too hot to touch. As we mentioned in previous posts, we added two LGI slide top awnings to shield the roof, which helped a lot, but I wanted to make it even better.
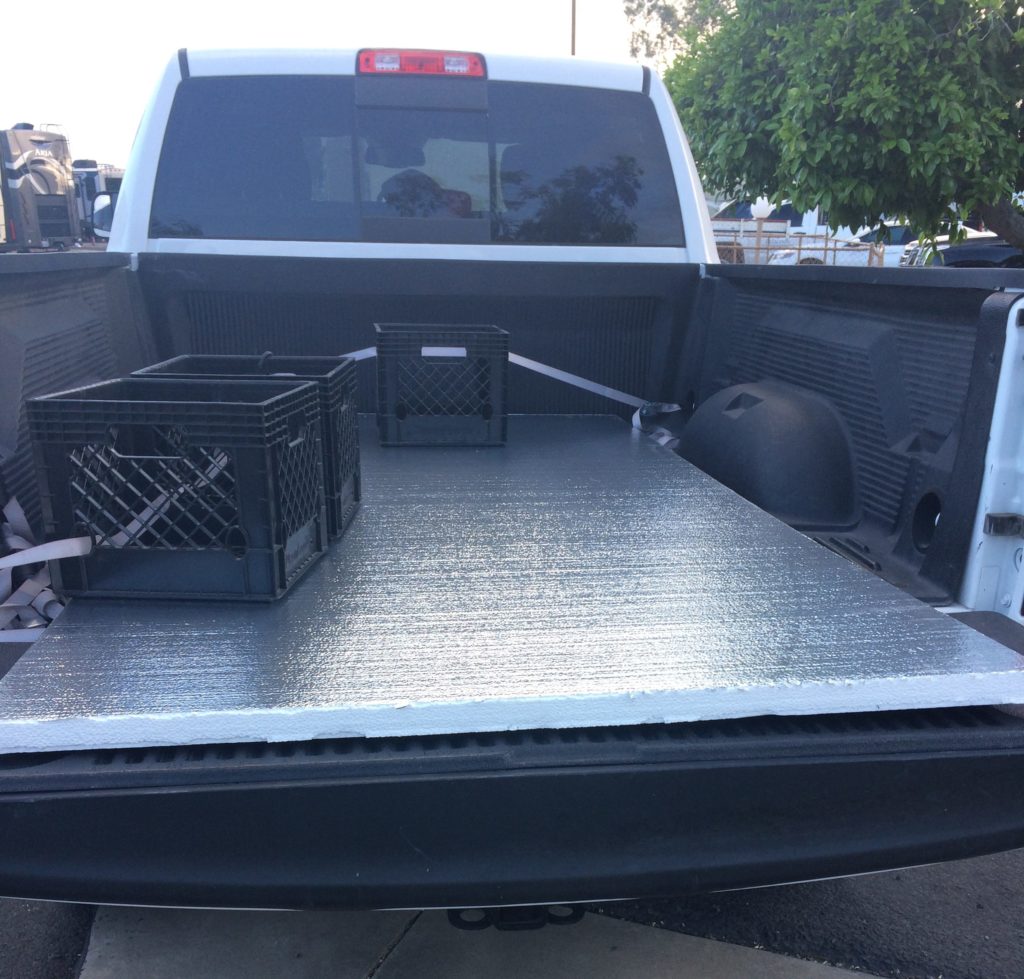
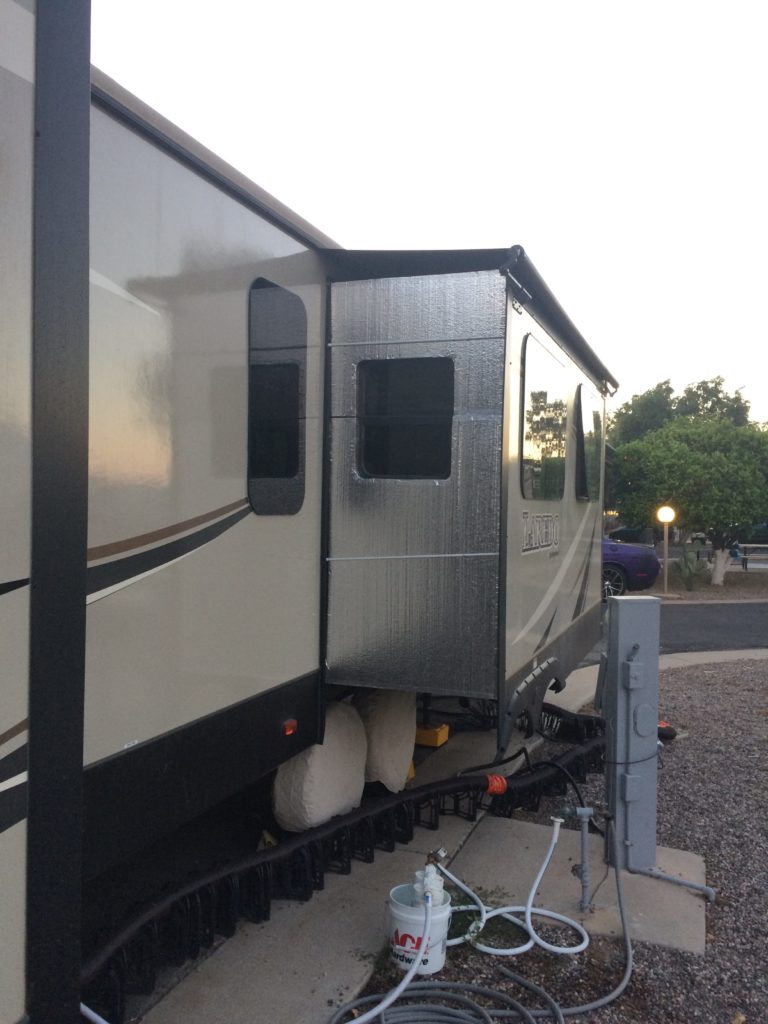
I bought foil-backed 1.5” thick Styrofoam boards and cut them to fit the sidewalls of our slides. (I know some RV parks frown upon using this type of insulation but our park is very understanding.)

Our slides use a cable system to move in and out, so I was able to use this cable system to help secure the panels in place. Measuring the location of the cables, I carved out a trench in the back of the insulating panel to fit the cables. I set the depth of the trench so the panel stood away from the actual outside wall of the unit. Even in a desert environment, it is important to limit areas where moisture can be trapped and develop mold. I wanted to make sure there was space for air to flow (and water to dry) between the wall and the insulation.
I cut space for the side windows to let some light into our living space, because the cats (and wife) get anxious when they can’t see what’s happening outside. I used foil tape to cover the raw edges of the foam board, connect smaller end-pieces to make full-sized panels, and repair some nicks and scratches in the foam board.

To secure the panels to the unit, I tried a couple different methods: On one slide, I used spring-bar curtain rods between the trim edge of the slide and the RV wall to hold the panels in place. Since I couldn’t find spring bars to fit the second slide, I used mason twine looped around the front of the panel and through the slide cables. I covered the string with foil tape. With Monsoon season coming, I am hoping both methods hold up to the wind and rain. As a bonus, I think the foil tape on the raw cut ends of the panels gives it a more professional look, while preventing the shedding of little bits of Styrofoam in harsh weather, where it could harm wildlife.
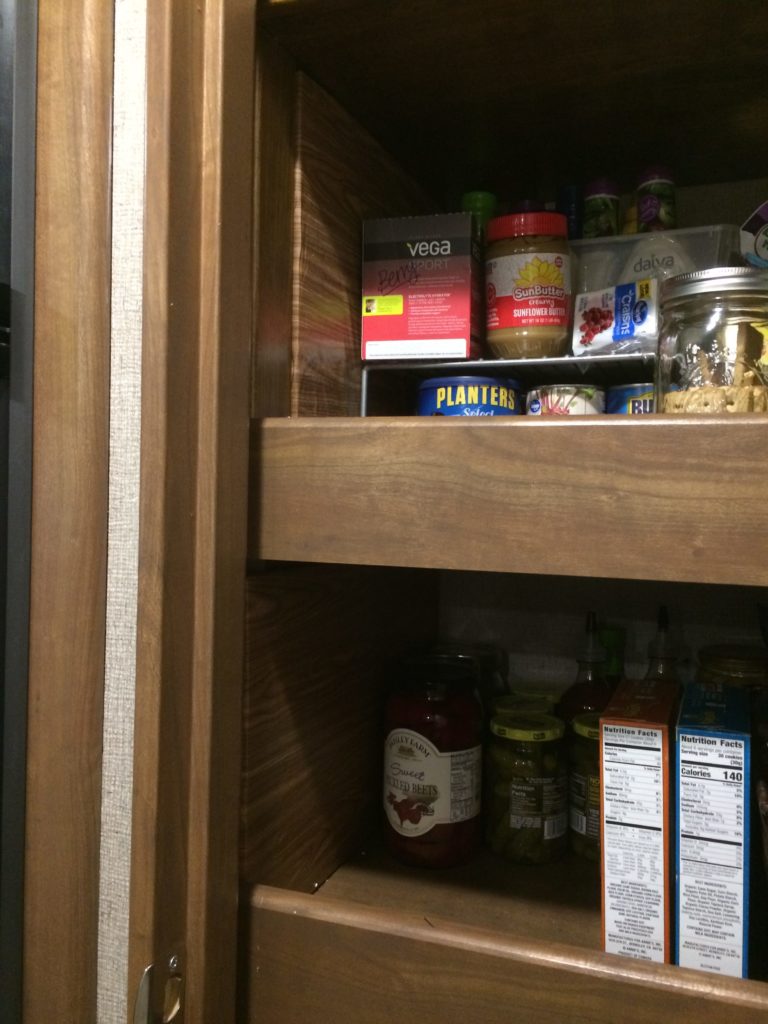
Besides the slides, we have one additional area of the RV where heat comes in: our pantry. We have a nice big food pantry, and it’s located right next to the fridge. While installing our vent fan system in the fridge flue (which I will talk about in a future post!), I noticed that the wall between the fridge flue and the pantry is only ¼” plywood. While some areas of the wall are protected by the fridge’s insulation wrap, most of the separator wall was built without insulation, so hot air from the fridge condenser and the sun beating on the wall at the back of the pantry meant that on some days, we didn’t need to heat our cans of beans before eating them.
Removing the fridges (we have two) and adding foam board insulation inside the fridge areas would’ve been a lot of frustrating work. Instead, I decided to insulate the inside the pantry itself. I used 1” foil backed Styrofoam insulation board, covering each section with wood-patterned Con-Tact paper so it would blend in with the rest of the woodwork. Because I cut the foam board to fit snugly, I didn’t need to use any adhesive to hold them in place. The pantry’s temperature difference is noticeable, now that we’ve seen several days in the high 90’s, we’re no longer snacking on extremely warm potato chips.
